Every successful renovation follows a sequence, and understanding when to install wall panels is an important part of getting that sequence right. Structural works, building services, finishes, and furnishings all need to happen in the right order to avoid delays, rework, and unnecessary costs. Wall panels are no exception. Despite being one of the final interior finishes, their performance and appearance depend heavily on what happens earlier in the project.
As a general rule, wall panels should be installed after demolition, structural modifications, MEP rough-ins, wet works, and ceiling frameworks are completed, but before furniture installation, decorative accessories, and final handover activities. This forms the ideal wall panel installation timeline for most residential and commercial renovation projects. Installing panels too early exposes them to moisture, dust, and impact damage, while installing them too late can create coordination problems with cabinetry, electrical fittings, and feature lighting.
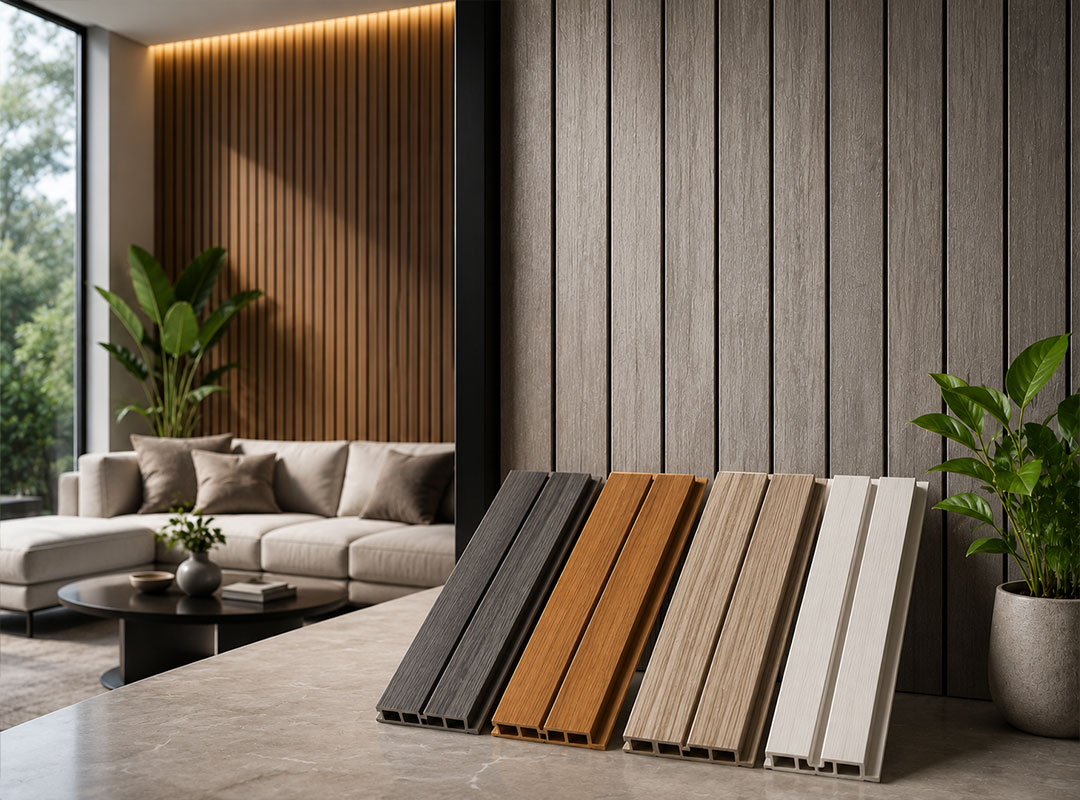
Whether using decorative wall panels, fluted panels, acoustic panels, PVC wall panels, WPC wall panels, or other interior cladding systems, understanding the correct wall panel installation timeline and following best practices for interior wall panel installation are essential for achieving a durable, seamless, and professional finish.
1. Complete Demolition and Site Preparation First
Wall panel installation should never begin during the demolition stage. Removing partitions, hacking existing finishes, and dismantling old fixtures generate significant dust, debris, and vibrations that can damage finished panels. The site should be completely cleared, cleaned, and stabilised before any wall panel materials are delivered. Proper site preparation also ensures accurate measurements and reduces the risk of dimensional discrepancies during installation.
2. Finish Structural and Masonry Works Before Considering Wall Panels
Any modifications involving partition walls, plastering, blockwork, or structural openings must be completed before installing wall panels. Decorative wall panels and interior cladding systems rely on a stable substrate and final wall dimensions. Changes to wall layouts after installation often result in panel removal, material wastage, and additional labour costs. Since wall panels are a finishing element, they should only be introduced once the building’s structure has reached its final configuration.
3. Complete All MEP Rough-Ins
Mechanical, electrical, and plumbing services should be finalised before wall panel installation begins. Electrical conduits, switch boxes, power outlets, internet cabling, air-conditioning pipes, and concealed services frequently sit behind feature wall panels. Once panels are installed, making modifications to these systems becomes difficult and may require dismantling finished sections. Early coordination between designers, contractors, and panel installers ensures precise cut-outs and a clean, integrated appearance.
4. Finish Plumbing and Conduct Leak Testing
Bathrooms, kitchens, and utility spaces require complete plumbing installation and pressure testing before wall panel installation. Even moisture-resistant materials such as PVC wall panels and WPC wall panels can suffer from prolonged exposure to hidden leaks and damp substrates. Any plumbing defects discovered after installation can lead to mould growth, substrate deterioration, and costly repair work. Water systems should therefore be fully tested and approved before proceeding with interior wall finishes.
5. Complete Ceiling Framework Installation
Suspended ceilings, bulkheads, and gypsum frameworks should be installed before wall panels. The ceiling establishes the final vertical dimensions of the room and determines where wall panels terminate. Installing panels before ceiling frameworks often results in inconsistent gaps and alignment issues. Completing the ceiling structure first allows panel installers to achieve cleaner junctions and ensures a more refined finish around feature walls and integrated lighting details.
6. Allow All Wet Works to Fully Cure
Wet construction activities such as plastering, cement screeding, and tile installation introduce considerable moisture into the building. Installing wall panels in an environment with excessive humidity can affect adhesives, substrates, and dimensional stability. Most manufacturers recommend waiting until wet works are fully cured and indoor moisture levels have stabilised before beginning installation. The dry construction phase is the ideal time to proceed with wall panel systems. This stage is a critical part of the wall panel installation timeline because excessive moisture can compromise adhesives and affect the long-term performance of wall panel systems.
7. Ensure the Building Envelope Is Weather-Tight
Windows, external doors, and glazing systems should be completely installed and sealed before interior wall panels are introduced. Exposure to rainwater, fluctuating temperatures, and excessive humidity can affect adhesives and create moisture-related problems behind the panels. Installing wall panels only after the building becomes weather-tight ensures that environmental conditions remain controlled throughout the fit-out process.
8. Inspect and Prepare the Substrate Properly
No wall panel system performs well on a poor substrate. Walls should be inspected for flatness, structural integrity, moisture content, and surface defects before installation. Significant deviations in wall tolerance can result in visible gaps, poor alignment, and compromised aesthetics. In some cases, levelling compounds, moisture barriers, or aluminium frameworks may be required to create an appropriate installation surface. Proper substrate preparation is one of the most important factors influencing long-term performance. Proper substrate preparation is also one of the most important requirements for successful interior wall panel installation.
9. Acclimatise Wall Panels Before Installation
Many modern wall panel materials require acclimatisation before installation. WPC panels and other composite products can expand or contract slightly depending on ambient temperature and humidity. Allowing materials to remain on-site for at least 24 to 48 hours before installation helps them adapt to the indoor environment and improves dimensional stability. This process significantly reduces the risk of movement after installation.
10. Install Wall Panels During the Final Fit-Out Stage
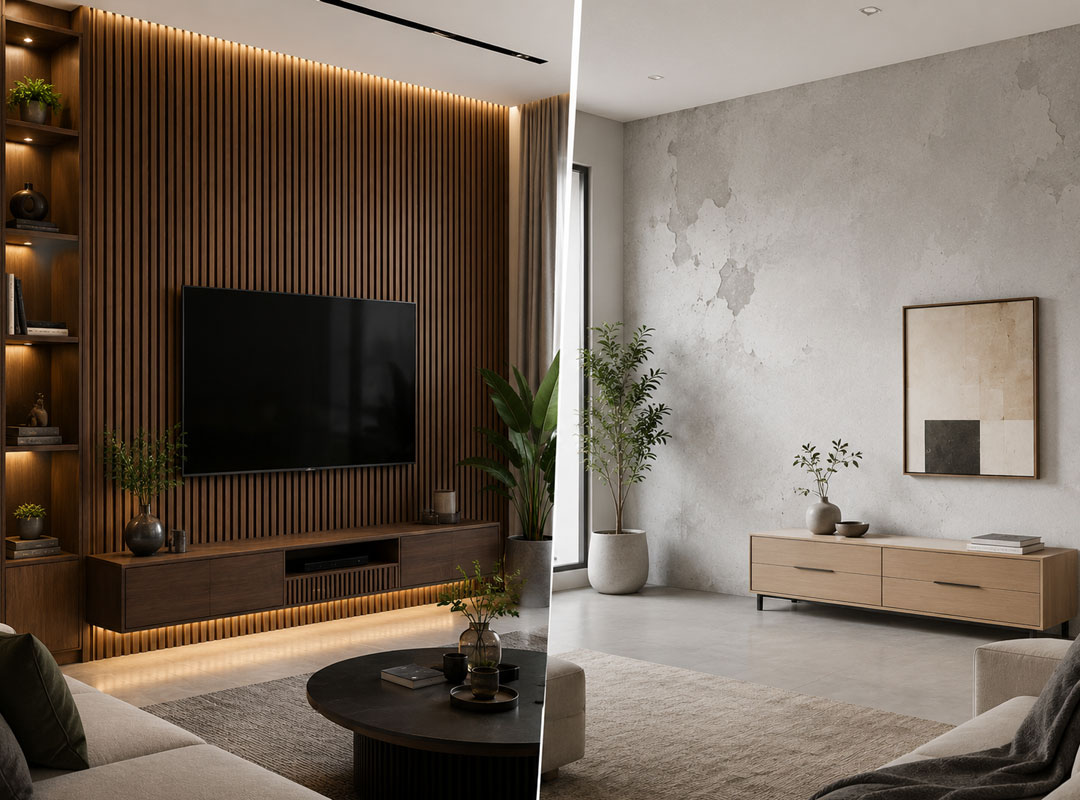
The ideal time to install wall panels in the overall wall panel installation timeline is during the final fit-out stage, once all major construction activities have been completed. At this point, the risk of impact damage and contamination is substantially reduced. Decorative wall panels, fluted panels, and feature wall systems can be installed efficiently while maintaining their finish quality. This timing also allows designers to coordinate final lighting details, colour schemes, and furnishing layouts around the completed wall surfaces.
11. Coordinate Panel Installation with Lighting Requirements
Modern interior wall solutions often incorporate concealed LED strips, recessed lighting, and illuminated feature walls. These elements require precise planning before installation begins. Wiring routes, driver locations, and access panels should be finalised in advance because retrofitting lighting after panel installation can damage the finished surface. Early coordination between electricians and installers ensures that lighting integrates seamlessly with the wall panel design.
12. Consider Expansion Gaps and Movement Allowances
Certain wall panel materials require expansion gaps to accommodate thermal movement and changes in humidity. WPC wall panels and composite systems, in particular, benefit from carefully planned movement joints around corners, ceilings, and floor junctions. Ignoring these requirements can lead to buckling, panel distortion, or separation at joints. Professional installation practices always account for manufacturer-recommended tolerances and movement allowances. Accounting for these movement allowances is an important aspect of professional interior wall panel installation.
13. Follow Adhesive and Fixing Requirements Carefully
Different wall panel systems use different installation methods. Some rely on construction adhesives, while others utilise concealed clips, mechanical fasteners, or aluminium support frameworks. Adhesive-based installations require clean, dry substrates and sufficient curing time before the panels are subjected to loading or impact. Mechanical fixing systems require accurate alignment and proper spacing to ensure structural stability. Understanding the fixing method is critical to achieving a durable and long-lasting installation.
14. Install Built-In Furniture After Wall Panels
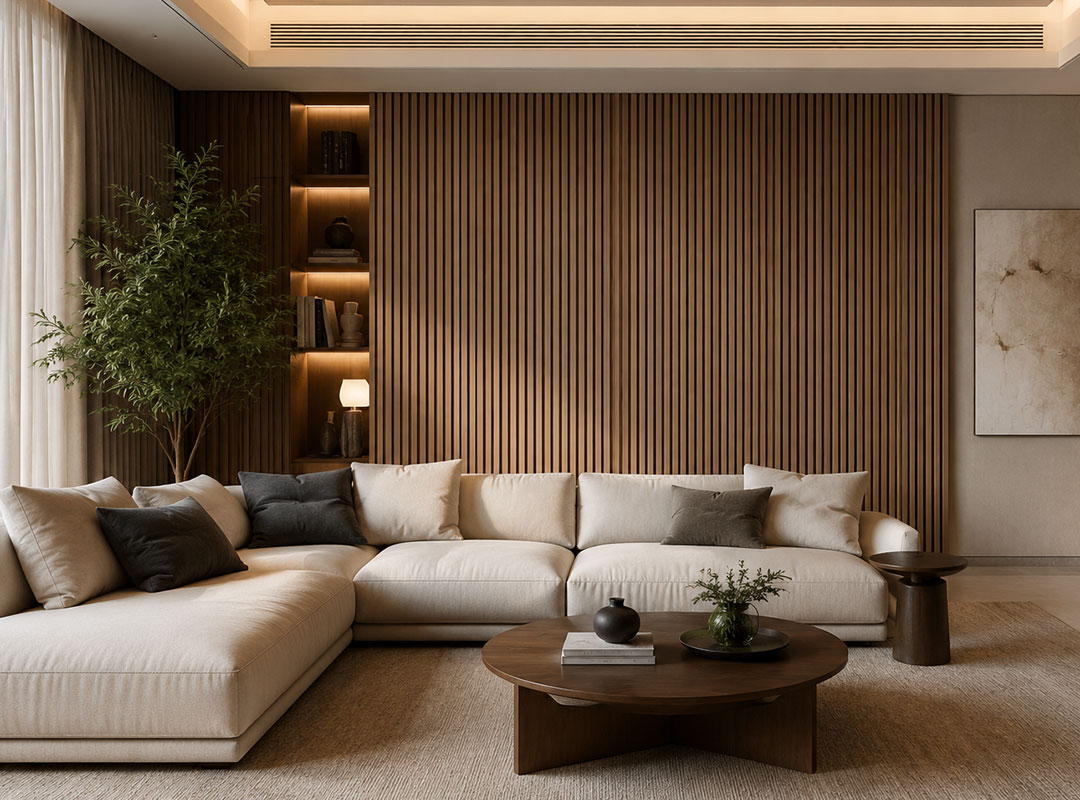
Custom cabinetry, wardrobes, television units, and display shelves should generally be installed after wall panel installation is complete. This sequence allows furniture contractors to work with final dimensions and achieve flush integrations with the finished wall surface. Since many feature wall panels are intended to act as focal points within a space, completing them first results in a more refined and cohesive appearance.
15. Complete Final Fixtures and Accessories Last
Wall lights, mirrors, artwork, shelves, and decorative accessories should be installed after the wall panels are finished. Drilling and cutting into completed wall panels should be minimised and carefully planned to preserve the integrity of the installation. Final fixtures can then be positioned accurately against the finished surfaces without compromising panel alignment or appearance.
16. Protect Wall Panels Until Project Handover
Even after installation, wall panels remain vulnerable to damage from ongoing site activities. Protective films, temporary coverings, and controlled access should remain in place until the project reaches completion. Preventing scratches, dents, and staining during the final stages of construction preserves the quality of the installation and reduces the need for repairs or replacements before handover.
The Ideal Renovation Sequence for Wall Panel Installation
For most residential and commercial projects, wall panel installation should occur after:
- Demolition and site preparation.
- Structural and masonry works.
- Mechanical, electrical, and plumbing rough-ins.
- Plumbing testing and approvals.
- Ceiling framework installation.
- Wet works and moisture stabilisation.
- Window and door installation.
- Substrate preparation and inspection.
Wall panels should be installed before:
- Built-in furniture and cabinetry.
- Decorative accessories and fixtures.
- Final cleaning and project handover.
Understanding when to install wall panels helps contractors coordinate different trades more efficiently and avoid unnecessary rework during the fit-out process.
Why Timing Matters
Installing wall panels at the correct stage of the renovation process delivers several benefits:
- Reduces the risk of scratches, dents, and material damage.
- Prevents moisture-related failures and adhesive issues.
- Improves coordination between trades.
- Minimises costly rework and project delays.
- Enhances the longevity and appearance of the installation.
- Allows seamless integration with lighting, furniture, and electrical components.
Wall panels may be among the final finishes introduced into a renovation, but their success depends on careful planning from the very beginning of the project and on understanding when to install wall panels within the overall renovation sequence. Installing them after structural works, MEP rough-ins, and wet construction activities, yet before furniture and decorative installations, creates the ideal conditions for a durable and visually seamless result. Proper interior wall panel installation also depends on coordinating wall panels with structural works, building services, and other finishing trades.
Whether specifying decorative wall panels, acoustic solutions, fluted panels, PVC panels, or WPC wall cladding, following the correct wall panel installation timeline ensures that the installation performs as intended and retains its appearance for years to come.
For homeowners, designers, and contractors, understanding when to install wall panels is not simply a scheduling decision. It is a critical factor that directly affects construction efficiency, finish quality, and the long-term value of the interior space. Knowing when to install wall panels can significantly improve construction efficiency, reduce project delays, and ensure higher-quality interior wall panel installation. By integrating wall panel systems into the renovation timeline at the right stage, projects can achieve cleaner execution, reduced maintenance requirements, and a significantly more refined finish.
Explore Wonde®’s range of innovative interior wall panel solutions to create feature walls and modern spaces that combine design, durability, and installation efficiency.